Thermometers are imperative tools in the kitchen, especially when it comes to ensuring your meats are cooked safely and to perfection. By properly calibrating your meat thermometer, you can avoid undercooked meals that might lead to foodborne illnesses or overcooked dishes that ruin the flavor and texture. In this guide, you’ll learn effective techniques to ensure your thermometer provides accurate readings, empowering you to cook with confidence. Let’s examine the step-by-step process to achieve those reliable, mouth-watering results every time you hit the kitchen!
Key Takeaways:
- Ensure your meat thermometer is accurate by using the ice water method: fill a glass with ice and water, let it sit for a few minutes, then insert the thermometer, adjusting it to read 32°F (0°C) if necessary.
- For boiling water calibration, use a pot of water at a rolling boil and check that your thermometer reads 212°F (100°C) at sea level, adjusting for altitude if needed.
- Regularly calibrate your thermometer and keep it clean for the best results in ensuring food safety and cooking precision.
Understanding Your Meat Thermometer
Before you initiate on cooking perfection, understanding your meat thermometer is imperative. Knowing how to operate it properly will enhance your culinary skills and ensure food safety. Every kitchen should have at least one reliable thermometer, as it guarantees that your meats are cooked to the desired doneness and eliminates the risk of foodborne illnesses.
Types of Meat Thermometers
Types of meat thermometers come in various forms, tailored for specific needs:
| Type | Description |
| Instant-Read Thermometers | Provide quick readings, ideal for gauging temperature at the end of cooking. |
| Dial Thermometers | Can be left in the meat while cooking, but may take longer to read. |
| Probe Thermometers | Offer continuous temperature readings, excellent for roasts and large cuts. |
| Wireless Thermometers | Allows monitoring from a distance, perfect for busy kitchens. |
| Infrared Thermometers | Measures surface temperature, not suitable for internal readings. |
Thou now know the types of thermometers available, which is the first step to achieving kitchen success.
Key Features to Consider
To ensure optimal performance, consider these key features when selecting your meat thermometer:
- Accuracy – Essential for precise readings.
- Speed – Quick response time prevents overcooking.
- Range – Ability to measure various temperatures.
- Durability – A robust design withstands kitchen wear.
- Ease of Use – Simple interface means less hassle.
Assume that these features will enhance your cooking experience significantly, so choose wisely.
Understanding the key features of a meat thermometer makes a noticeable difference in your cooking. A thermometer that boasts accuracy ensures your meat is safe to eat, while speed helps you avoid overcooking, keeping your dishes tender and flavorful. Moreover, a wide range allows you to prepare different types of meats without hassle. Additionally, durability ensures it withstands daily kitchen use. Finally, an easy-to-use design saves time during busy cooking sessions. Assume that these features will guide you towards culinary excellence.
Importance of Calibrating Your Thermometer
Some might overlook the calibration of their meat thermometer, yet doing so is imperative for safe cooking. A properly calibrated thermometer ensures that you accurately measure the internal temperature of your food, which is vital for avoiding foodborne illnesses. By taking the time to calibrate your thermometer, you can enjoy delicious and safe meals, giving you confidence in your cooking skills.
Why Calibration Matters
With proper calibration, you can ensure that your meat is cooked to the right temperature, achieving optimal flavor while also prioritizing food safety. Accurate readings help you avoid overcooking or undercooking your meats, making your culinary endeavors more successful and enjoyable. This extra step can make a significant difference in the quality of your cooking.
Common Misconceptions
Assuming that your thermometer is accurate right out of the box can lead to serious mistakes in your cooking. Some believe that a thermometer only needs calibration for first-time use, while in reality, regular calibration is necessary to maintain accuracy over time. A lack of understanding about how temperature affects food safety can leave you at risk.
It is important to address the fact that a thermometer may drift in accuracy due to factors like exposure to heat and moisture. Failing to regularly calibrate your thermometer can lead to unpredictable cooking results, potentially serving undercooked meat that poses health risks. To ensure food safety and your loved ones’ enjoyment, routinely check the calibration of your thermometer and embrace this imperative practice for achieving perfectly cooked meals.
How to Calibrate Your Meat Thermometer
Many home cooks overlook the importance of calibrating their meat thermometer, but it’s vital for achieving the perfect doneness. Calibration ensures that your thermometer provides accurate readings, which can make a significant difference in the safety and quality of your meals. By following two simple methods, you can ensure your thermometer is ready for any cooking task.
Using the Ice Water Method
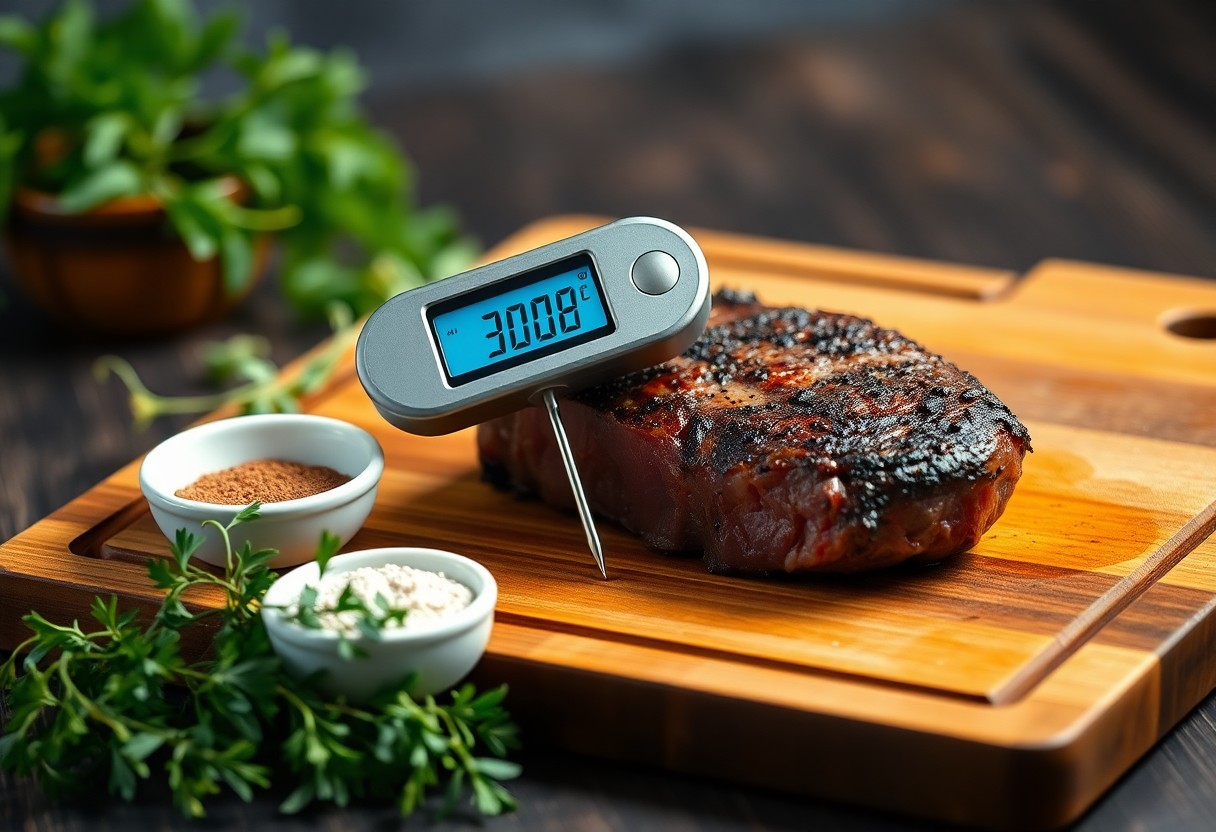
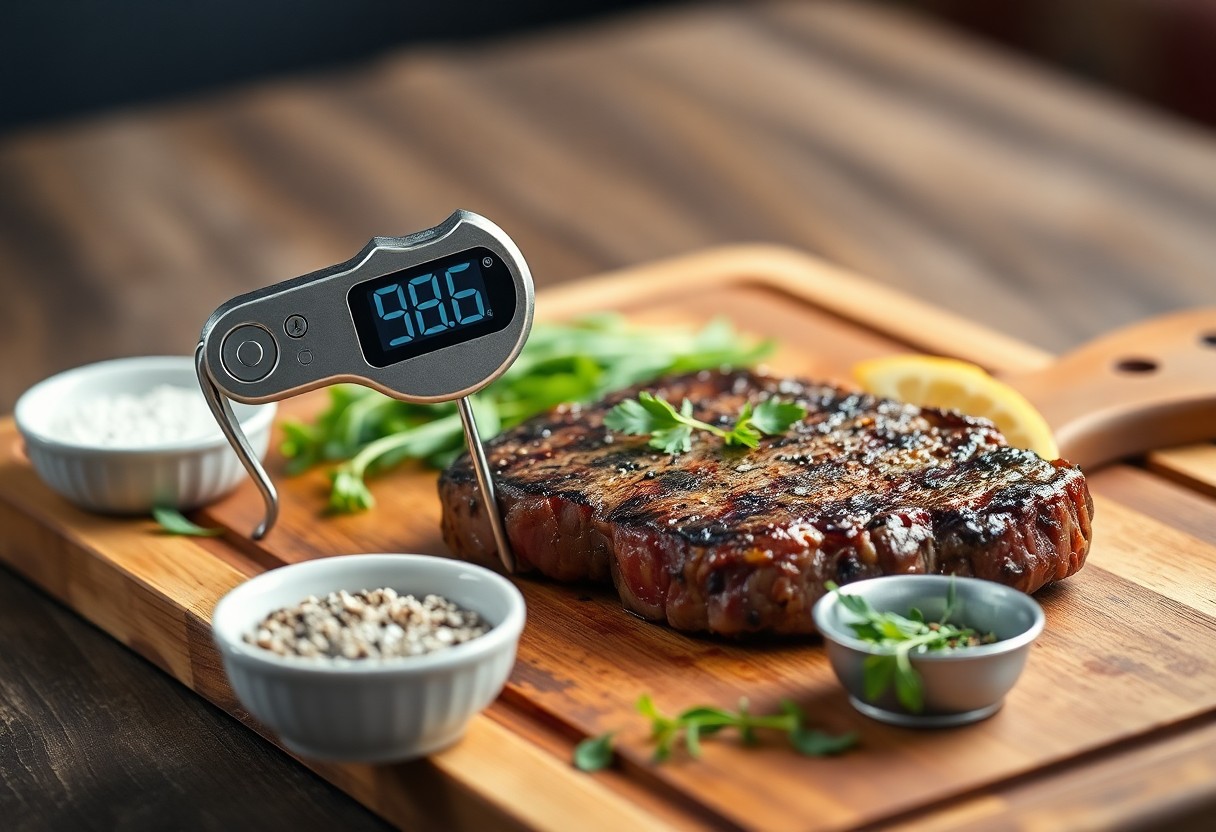
Thermometer calibration can be effectively achieved using the ice water method. Fill a glass with crushed ice and add cold water, stirring well. Let it sit for a minute, then insert your thermometer into the ice slush without touching the sides. It should read 32°F (0°C) for accurate calibration.
The Boiling Water Method
To calibrate your thermometer using the boiling water method, bring a pot of water to a rolling boil. Insert the thermometer into the boiling water, ensuring it doesn’t touch the pot’s bottom, and check the reading. It should read 212°F (100°C) at sea level.
Another important aspect of the boiling water method is to consider your elevation. At higher altitudes, the boiling point of water decreases. So, if you’re in a location above sea level, you will need to adjust the expected reading accordingly. This adjustment helps you ensure your thermometer remains accurate and avoids cooking mishaps with undercooked meat or food safety risks. Always double-check your thermometer for the best results in your culinary adventures.
Tips for Accurate Temperature Readings
Once again, achieving accuracy with your meat thermometer is crucial for safe and delicious cooking. Here are some tips to help ensure you get reliable measurements:
| Tip | Advice |
|---|---|
| Calibration | Regularly check and calibrate your thermometer to maintain accuracy. |
| Check Depth | Insert the probe deep into the meat’s thickest part, avoiding bone or fat. |
| Resting Time | Allow the meat to rest before taking the final temperature reading. |
Recognizing these tips ensures your readings are as accurate as possible, enhancing both safety and flavor in your cooking.
Placement of the Thermometer
For effective temperature readings, it’s important to place the thermometer correctly. Insert the probe into the thickest part of the meat, ensuring that it doesn’t touch bone or fat. This location generally provides the best representation of the overall temperature, which is crucial for ensuring your meat is fully cooked and safe to eat.
Time to Wait for Readings
There’s a necessary waiting period before trusting the reading on your meat thermometer. Allow your thermometer to stabilize for a few seconds after insertion before checking the temperature. This wait time lets the device accurately measure the meat’s internal temperature rather than giving a fluctuating reading.
Accurate timing is significant; full cooking can prevent foodborne illnesses and ensure your meal tastes its best. If you rush this process, you might end up with undercooked meat, putting your health at risk. Give your thermometer a moment to stabilize, and wait a few seconds for a consistent reading before proceeding to serve or eat the meat.
Factors That Affect Accuracy
Keep in mind that several factors can influence the accuracy of your meat thermometer. Understanding these can enhance your cooking results:
- Thermometer calibration
- Environmental conditions
- Thermometer quality
Thou must ensure each factor is considered when striving for optimal meat preparation.
Environmental Conditions
Some factors in your cooking environment, like ambient temperature and humidity, can affect thermometer readings. If you use your gadget outdoors or in a kitchen with significantly fluctuating temperatures, inaccuracies may arise. To maintain precision, aim for a stable, moderate climate where your thermometer can operate effectively.
Thermometer Quality
For optimal performance, the quality of your meat thermometer directly impacts accuracy. Investing in a well-manufactured device ensures durability and reliable readings. Different thermometers have various precision levels—digital types often offer superior accuracy compared to analog options. Ensure it fits your culinary needs to avoid dangerous undercooking or overcooking.
To ensure you are using a quality thermometer, check for features like a calibration function and fast response times. A high-quality thermometer not only provides accurate readings but also lasts longer in your kitchen arsenal. Investing in trusted brands can prevent situations where you might serve undercooked meat to guests, which can pose serious health risks. Ultimately, a reliable thermometer leads to better cooking results, making it a smart choice for any kitchen enthusiast.
Troubleshooting Calibration Issues
After you have calibrated your meat thermometer, you may still encounter some issues. It’s important to troubleshoot potential problems to ensure that you get the most accurate readings. Factors such as ambient temperature, moisture, or improper positioning can affect your thermometer’s accuracy. By identifying these issues and resolving them swiftly, you’ll boost your confidence in your cooking.
Identifying Common Problems
With a variety of meat thermometers available, it’s not uncommon to run into some common issues. Inaccurate readings, slow response times, or even failure to turn on may indicate calibration problems. Being aware of these signs can help you quickly address them and maintain the accuracy required for perfectly cooked meals.
Solutions for Accurate Readings
Assuming you’ve identified the problem, it’s time to implement solutions. First, ensure that your thermometer is clean and dry—this can significantly affect performance. If your thermometer isn’t stabilized, make sure you give it time to adjust to varying temperatures. Lastly, try recalibrating using the ice water or boiling method for accurate readings.
Calibration plays a vital role in ensuring your meat thermometer functions at its best. If you notice inconsistent readings, recalibrating is the first step in restoring accuracy. Use ice water for a quick check: if the thermometer reads above 32°F, adjust accordingly. For boiling water, aim for 212°F. If problems persist, consult your thermometer’s manual for manufacturer-specific solutions. Ensuring accurate readings can mean the difference between a thoroughly cooked meal and potential food safety hazards, so take these steps seriously.
To wrap up
As a reminder, calibrating your meat thermometer is a vital step in ensuring your dishes are cooked to perfection. By using the ice water or boiling water method, you can easily verify and adjust the accuracy of your thermometer. Investing a few minutes in this process enhances your cooking experience and guarantees that your meals are safe and delicious. With these tips, you’ll be well on your way to mastering kitchen precision and taking your culinary skills to the next level.
FAQ
Q: Why is it important to calibrate my meat thermometer?
A: Calibrating your meat thermometer ensures that it gives accurate readings when measuring the temperature of your food. This accuracy is vital for proper cooking, food safety, and achieving the desired doneness in meats. A thermometer that is off by even a few degrees can lead to undercooking or overcooking, which can affect both flavor and safety.
Q: What tools do I need to calibrate my meat thermometer?
A: To calibrate your meat thermometer accurately, you will need a few tools: a bowl of ice water or boiling water, a spoon for stirring, and a timer. For the ice water calibration, fill a bowl with ice and then add cold water until it is full. For boiling water calibration, bring a pot of water to a rolling boil. Using these methods will help you check the accuracy of your thermometer.
Q: How do I perform the ice water calibration method?
A: To use the ice water method, start by filling a bowl with ice, followed by adding cold water until the bowl is nearly full. Stir the mixture and let it sit for a minute to ensure that the water is cold enough. Insert your thermometer into the ice water without touching the sides or bottom of the bowl. It should read 32°F (0°C). If it doesn’t, adjust it according to your thermometer’s instructions.
Q: Can I use the boiling water method to calibrate my thermometer?
A: Yes, you can use the boiling water method as an alternative for calibration. Bring a pot of water to a vigorous boil, then insert the thermometer into the boiling water, ensuring it does not touch the pot or steam. The thermometer should read 212°F (100°C) at sea level. If you are at a different altitude, you may need to adjust the expected boiling point based on local atmospheric pressure.
Q: How often should I calibrate my meat thermometer?
A: It is advisable to calibrate your meat thermometer regularly, especially if you use it frequently or if it has been dropped or exposed to extreme temperatures. A good practice is to calibrate it before major cooking events, such as holidays or barbecues, to ensure optimal accuracy during meal preparation. Regular checks will help maintain confidence in your cooking and ensure food safety.