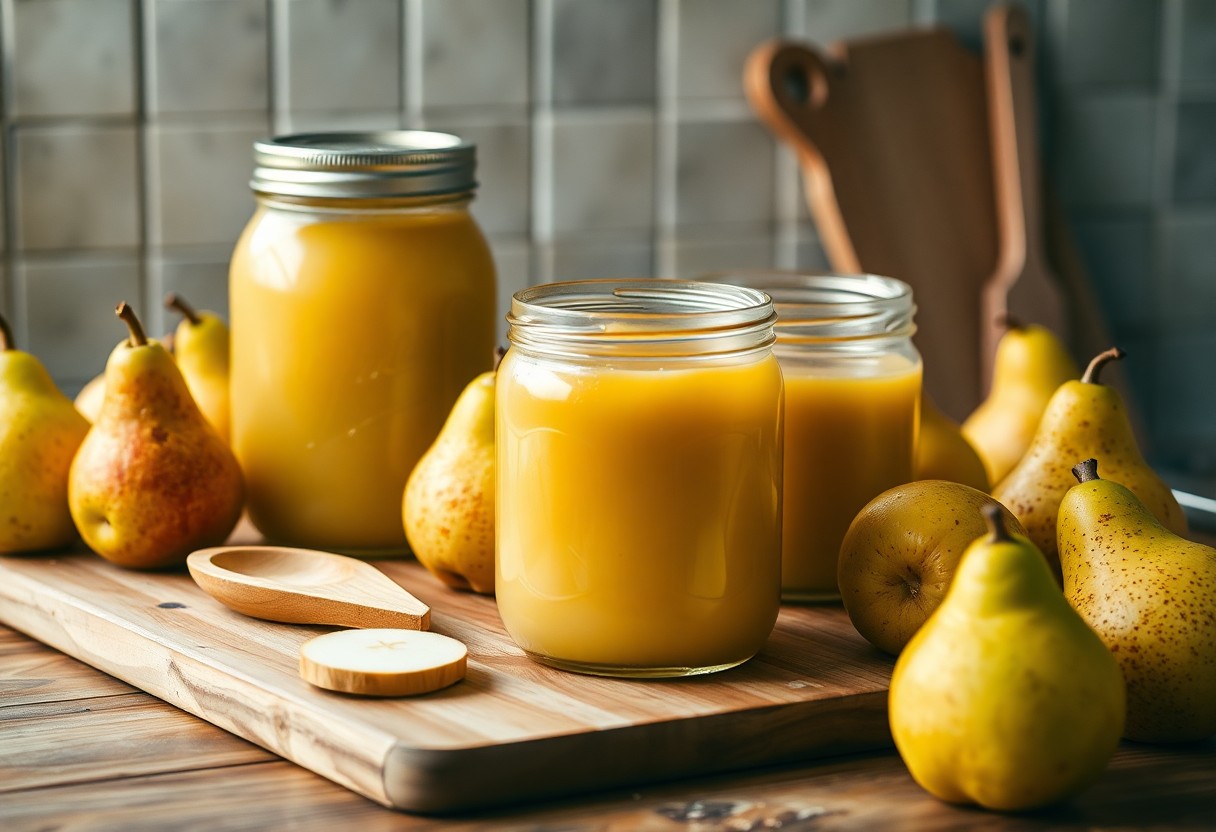
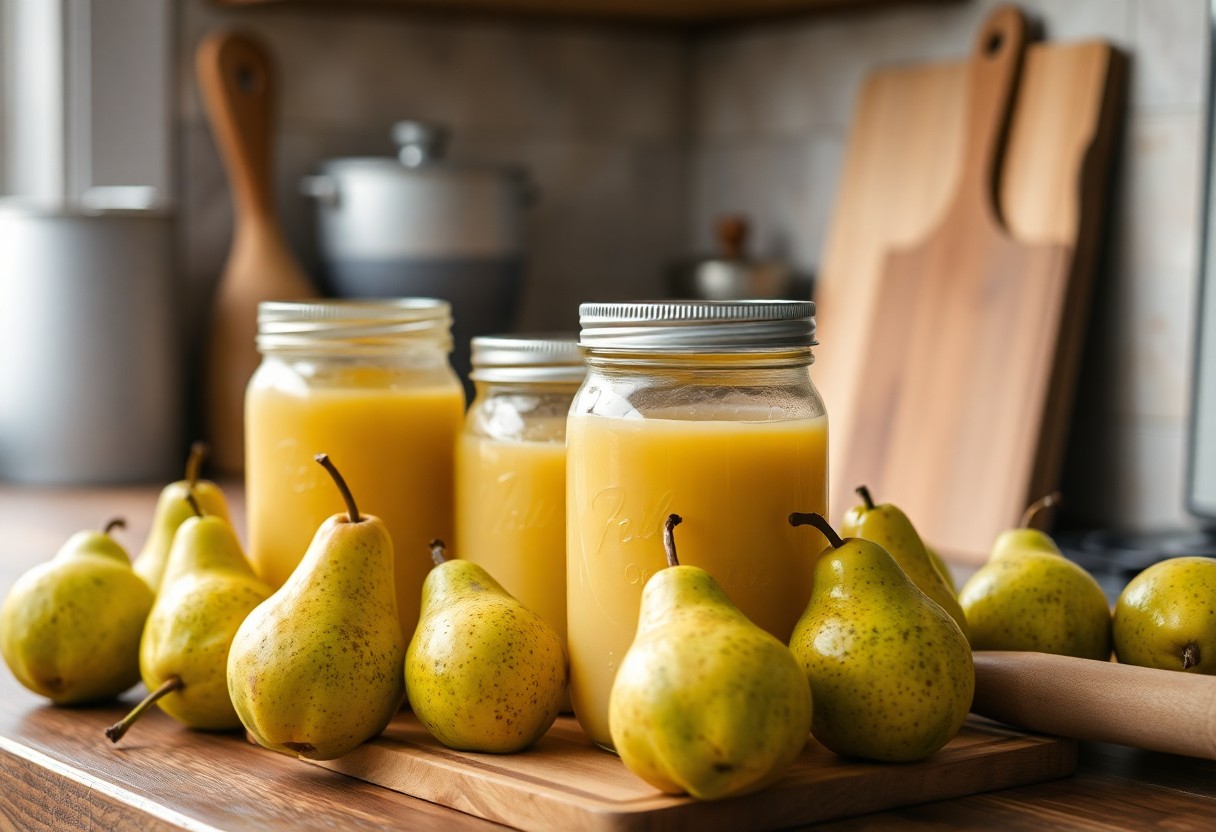
Many home enthusiasts seek to capture the delightful essence of fresh pears, and canning pear juice is a wonderful way to achieve that. By following this simple guide, you can ensure your juice maintains its vibrant flavor and nutritional benefits, all while avoiding potential hazards like spoilage. With just a few vital tools and ingredients, you’ll be equipped to create a delicious beverage that can be enjoyed year-round. Get ready to transform your pear harvest into an enduring liquid treasure!
Key Takeaways:
- Select ripe pears for the best flavor and sweetness when making juice.
- Ensure all equipment, including jars and lids, are properly sterilized to prevent spoilage.
- Follow safe canning procedures, such as maintaining the correct processing time and pressure, for successful preservation.
Understanding Pear Juice
A pear juice is not just a delightful beverage; it’s a rich source of vitamins and minerals that can invigorate your health. Extracted from fresh pears, this juice offers a naturally sweet flavor and can be enjoyed alone or as an ingredient in various recipes. The process of canning pear juice at home allows you to preserve its freshness and nutrient content, making it a convenient option for year-round enjoyment.
Choosing the Right Pears
Assuming you want the best flavor and quality, selecting the right pears is important. Look for ripe, firm pears that are free from bruises and blemishes. Varieties like Bartlett or Conference are often favored for juicing due to their sweetness. Aim for pears that are well-colored and slightly soft to the touch, as this indicates peak ripeness.
Factors Affecting Juice Quality
The quality of the juice you produce can be influenced by several factors. Consider the following key aspects:
- Pear ripeness affects both flavor and sweetness.
- Extraction method impacts the juice clarity.
- Canning process ensures food safety and shelf life.
Assume that by paying attention to these elements, your pear juice will reach its maximum potential in taste and nutrition.
This is where understanding the factors affecting juice quality becomes vital. The freshness of your pears directly influences the nutritional value of the juice. Proper extraction techniques yield clearer juice, while a standardized canning process prevents spoilage and retains flavors. If you choose overripe or lower-quality fruit, it may lead to a less enjoyable drinking experience or, worse, spoilage over time.
- Time of harvest impacts overall flavor.
- Storage conditions can affect fruit quality.
- Water quality used during juicing matters.
Assume that careful consideration of these factors can significantly elevate the quality of your homemade pear juice.
Equipment and Supplies
Some crucial equipment and supplies will make your home canning project smooth and enjoyable. You’ll need canning jars, lids, and bands, as well as a large pot for boiling water. A jar lifter, funnel, and ladle are also crucial for easy handling of hot jars and juice. Make sure to have a clean workspace and all your tools at arm’s reach for efficient canning.
Essential Tools for Canning Pear Juice
Assuming you are new to canning, you’ll want to gather your crucial tools, including a water bath canner or a stockpot, a food processor for juicing, and a sterilizer for jars. These tools will help ensure that your pear juice is not just delicious, but also safely preserved for future enjoyment.
Safety Supplies for a Successful Canning Process
Little aspects of canning can make a big difference in your experience. Having pot holders, kitchen towels, and thermometers on hand will help you work safely and effectively. These safety supplies will not only protect you from burns but also ensure that your jars seal correctly, preventing food spoilage.
Understanding the importance of safety supplies is crucial to a successful canning process. Using proper pot holders and kitchen towels will protect your hands during hot water handling, while a canning thermometer can help you maintain the right temperatures for sealing. Proper safety equipment prevents accidents like spills and burns, and it boosts your confidence during the canning process. Prioritize your safety to fully enjoy the benefits of preserving your own delicious pear juice.
Preparation of Pears
Now that you have gathered your fresh, ripe pears, it’s time to prepare them for juicing. Begin by selecting high-quality fruit, as the flavor of your pear juice will directly depend on the quality of the pears used. Ensure you have all necessary tools at hand, including a sharp knife, cutting board, and a large pot to cook the pears in. With everything ready, you can move on to the next steps to ensure your pear juice is both delicious and sweet.
Washing and Peeling the Pears
Washing the pears thoroughly under cold running water is imperative to remove any dirt or pesticides. After washing, peel the pears using a vegetable peeler or paring knife. This step is important as it not only helps to enhance the flavor but also reduces any bitterness that might come from the skin. Make sure to remove any spots or blemishes that may affect the quality of your juice.
Cutting and Cooking the Pears for Juicing
For the best results in your juicing process, cut the pears into quarters, removing the cores and seeds. Then, place the cut pears into your large pot and add just enough water to cover the fruit. Heat on a medium-low setting, allowing the pears to simmer gently until they are soft and tender. This process extracts the natural sugars and flavors, resulting in a rich juice.
Another key aspect of cutting and cooking your pears is to ensure even cooking. You should make sure to check for softness as you cook; the pears should be tender but not falling apart. Keep an eye on the water level to prevent burning, adding more if necessary. After about 20-30 minutes of gentle simmering, you’ll find the juice extraction process has begun, making it easy to produce a sweet and flavorful pear juice that you can enjoy and preserve.
How to Extract Juice
For the best results in extracting juice from fresh pears, select ripe, juicy fruits. Wash them thoroughly to remove any pesticides or dirt. You can either use a juicer or the traditional method of cooking and pressing the pears. Both methods are effective, but ensure your equipment is clean to maintain the quality of your juice.
Methods for Juicing Pears
Methods for juicing pears include using a juicer for quick extraction or cooking the peeled pears to soften them, then mashing and pressing. If using a juicer, simply feed the pears through and collect the juice. For the cooking method, simmer the pears with a little water, then strain through a fine mesh or cheesecloth for a smooth yield.
Tips for Maximizing Juice Yield
Juice extraction can be optimized with the right techniques. Here are the top tips to enhance your juice yield:
- Choose the ripest pears for maximum sweetness.
- Soak chopped pears in lemon juice to prevent browning.
- Heat pears lightly before juicing to soften them.
Recognizing the importance of these strategies can significantly increase your output.
Yield efficiency can be further improved by implementing additional best practices. Ensure you:
- Pre-chill your pears to make them easier to juice.
- Utilize the peels as they contain a lot of flavor and nutrients.
- Press the remains after juicing for any residual juice.
Recognizing these tactics can help you achieve a more satisfying and productive juicing experience.
Canning Process
Keep your kitchen organized and ready as you begin on the canning process of delicious pear juice. This ensures efficiency and allows you to focus on preserving the natural sweetness of your pears, while minimizing any mess along the way.
Step-by-Step Canning Instructions
If you are ready to preserve pear juice at home, you can follow these straightforward steps:
| Step | Description |
| 1 | Prepare your equipment: jars, lids, and canner. |
| 2 | Wash and chop the pears, extracting the juice. |
| 3 | Heat the juice to a simmer. |
| 4 | Fill the sterilized jars with hot juice. |
| 5 | Seal the jars and process in the canner. |
| 6 | Cool jars and store in a dark place. |
Important Tips for Proper Sealing
Assuming you want your pear juice to last, it’s imperative to prioritize proper sealing during the canning process. Follow these tips to ensure airtight seals:
- Check jars and lids for any cracks or imperfections.
- Leave appropriate headspace in the jars.
- Wipe the rim of the jars clean before sealing.
- Process jars at recommended times and pressures.
Assume that using these tips will help you achieve a high-quality seal, preventing spoilage.
This proactive approach not only extends the shelf life but also keeps your pear juice fresh and delicious. By consistently monitoring your preserving techniques, you enhance your ability to enjoy your juice long after canning. Here’s a few reminders:
- Ensure your canning tools are properly sterilized.
- Store jars in a cool, dark place.
- Avoid any contact between jars during processing.
Assume that following these guidelines creates the ideal conditions for perfect sealing and preservation.
Storing and Enjoying Your Pear Juice
To maintain the refreshing flavors of your pear juice, ensure proper storage after canning. Keep the sealed jars in a cool, dark place, ideally between 50-70°F. This will help preserve the taste and nutrients. Always check for any signs of spoilage before enjoying your juice and savor the delightful sweetness that you’ve worked hard to create.
Best Practices for Storage
Assuming you’ve followed proper canning procedures, store your pear juice in a cool, dark, and dry environment. Use shelves that are free from strong odors, and make sure the jars are not exposed to direct sunlight. Optimal storage conditions will extend the shelf life up to a year. Regularly inspect your jars for any bulging lids or leakage.
Tips for Using Pear Juice in Recipes
Enjoying pear juice in your culinary creations can elevate flavors and add a natural sweetness. It’s fantastic in marinades, salad dressings, and baked goods. Consider these tips:
- Use pear juice as a natural sweetener in baking.
- Incorporate it into smoothies for a delicious twist.
- Mix it with sparkling water for a refreshing beverage.
Perceiving the versatility of pear juice can inspire your next meal!
With pear juice in your kitchen, the possibilities are endless. You can elevate ordinary recipes by adding a splash of this sweet nectar. Consider these ideas:
- Drizzle it over pancakes or waffles for a unique breakfast treat.
- Add it to jellies or jams for extra flavor.
- Use pear juice in your cocktails or mocktails.
Perceiving its potential will enhance your culinary repertoire.
Conclusion
Hence, by following these steps to can pear juice at home, you can enjoy the delightful taste of fresh pears all year round. Ensuring proper sanitation and technique during the canning process will help maintain your juice’s quality and flavor, providing a sweet treat for you and your family. Embrace this rewarding endeavor, and savor the satisfaction of having preserved your own pear juice effortlessly.
FAQ
Q: What types of pears are best for juicing?
A: For making pear juice, varieties like Bartlett, Anjou, and Bosc are ideal due to their sweet flavor and high juice content. Bartlett pears are particularly favored because they produce a sweeter juice and the flesh breaks down easily, making juicing more efficient. However, feel free to experiment with other varieties based on your taste preference.
Q: What equipment do I need to can pear juice at home?
A: To can pear juice at home, you’ll need several imperative items: a juicer or blender, a large pot for boiling, canning jars with new lids, a water bath canner or large stockpot for processing, and a jar lifter for handling hot jars. Additionally, a funnel can help pour the juice into jars without spills. If planning to press, a fruit press is recommended.
Q: How can I prevent the pear juice from browning during the juicing process?
A: To prevent browning, you can treat the sliced pears with an ascorbic acid solution or lemon juice. Simply mix about 1 tablespoon of lemon juice or a vitamin C powder with a quart of water, and soak the cut pears for a few minutes before juicing. This can help retain the bright color and fresh flavor of the juice.
Q: How long can I store canned pear juice, and what is the best way to store it?
A: Canned pear juice can be stored for up to one year when sealed properly. It’s best to store the jars in a cool, dark place like a pantry or basement to avoid heat and light exposure, which can affect quality. After opening, any unused juice should be refrigerated and consumed within one week for the best taste.
Q: What is the process for safely canning pear juice at home?
A: To safely can pear juice, start by washing and preparing your pears, then juice them using a juicer or blender. Boil the juice for 5-10 minutes to pasteurize it, then pour the hot juice into sterilized canning jars, leaving 1/4-inch headspace. Wipe the rims of the jars to ensure a proper seal, place on the lids, and process in a water bath canner for 15-20 minutes depending on your altitude. After processing, allow the jars to cool completely before checking seals and storing them.